Usage
Edit classes and grades
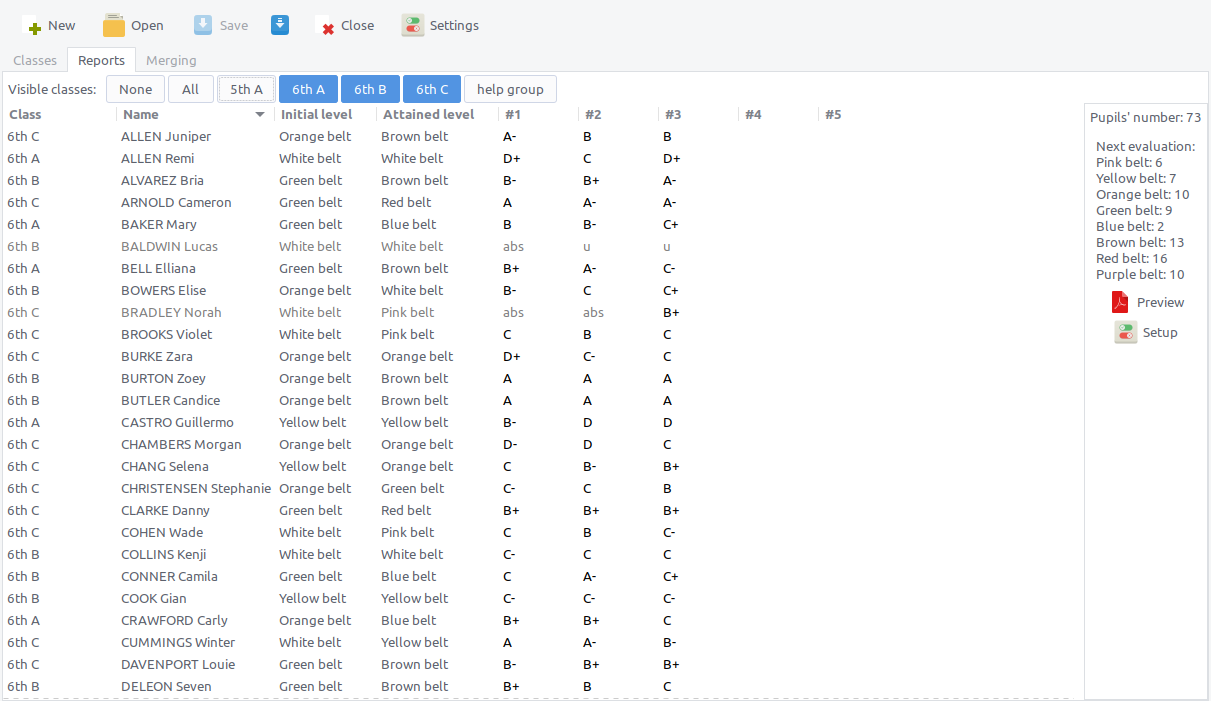
In addition to insert new pupils, the classes panel allows to:
edit pupils’ names (to fix typos, for instance)
remove one or more selected pupils from the current class (a confirmation will be asked for any pupil not belonging to any class after the removal)
edit the initial level of at least two selected pupils (initial level is always set, by default, to the lowest one you’ve defined, but you can change it)
attribute another class to one or more selected pupils. This allows to prepare tests for a group of pupils having special needs; or to keep the same file and move pupils to another class for the next school year.
add a grade (you’ll have to type all grades); or paste a grade from a spreadsheet selection (Cotinga will control there are as many grades as pupils in the class and will ask for confirmation before pasting).
if you select an existing grade, you’ll be able to remove it, or paste new grades from a spreasheet selection (Cotinga will show the differences and ask for confirmation before pasting)
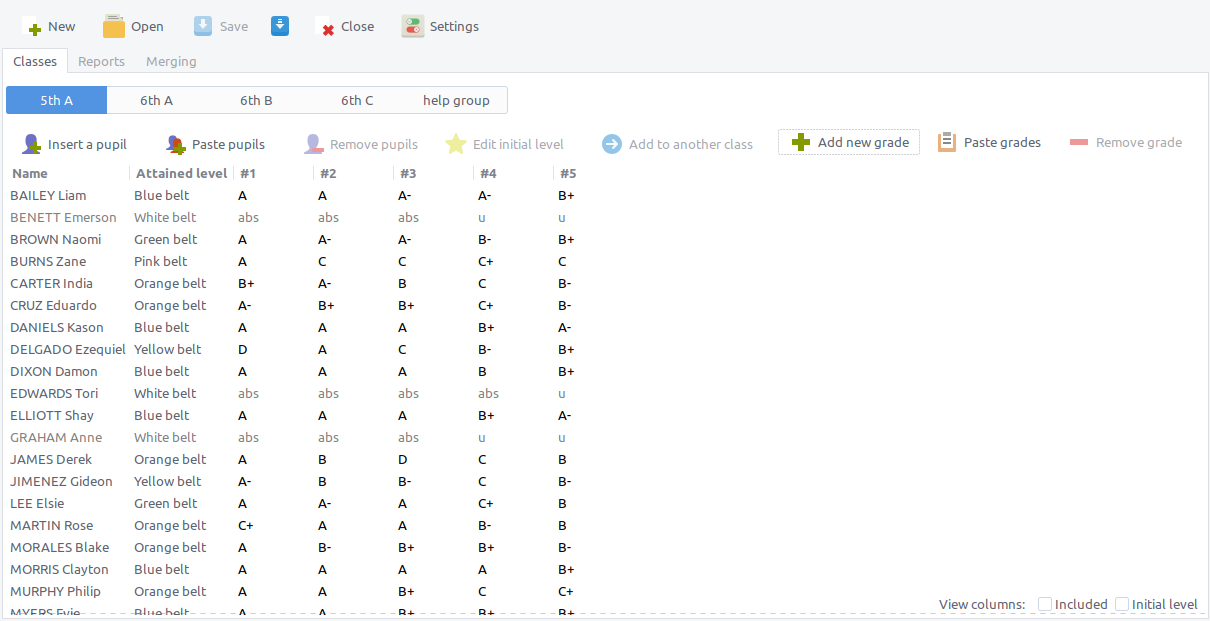
Moreover, two checkboxes at the bottom right of Cotinga allow to show two columns that are useful only from time to time:
“initial level”, to check your pupils’ initial levels but also edit them (one at a time)
“included”: if unchecked, the pupil will be grayed out, its name, class, grades can still be edited as for other students, but he/she will not show up in the reports, nor in the merging panel lists. This is useful for pupil who show up in your class list (hence in your grades to paste) but that do not belong to your class for your lessons; or that won’t be tested the same way as others for some reason. All pupils are included by default, you’ll have to uncheck the ones you wish.
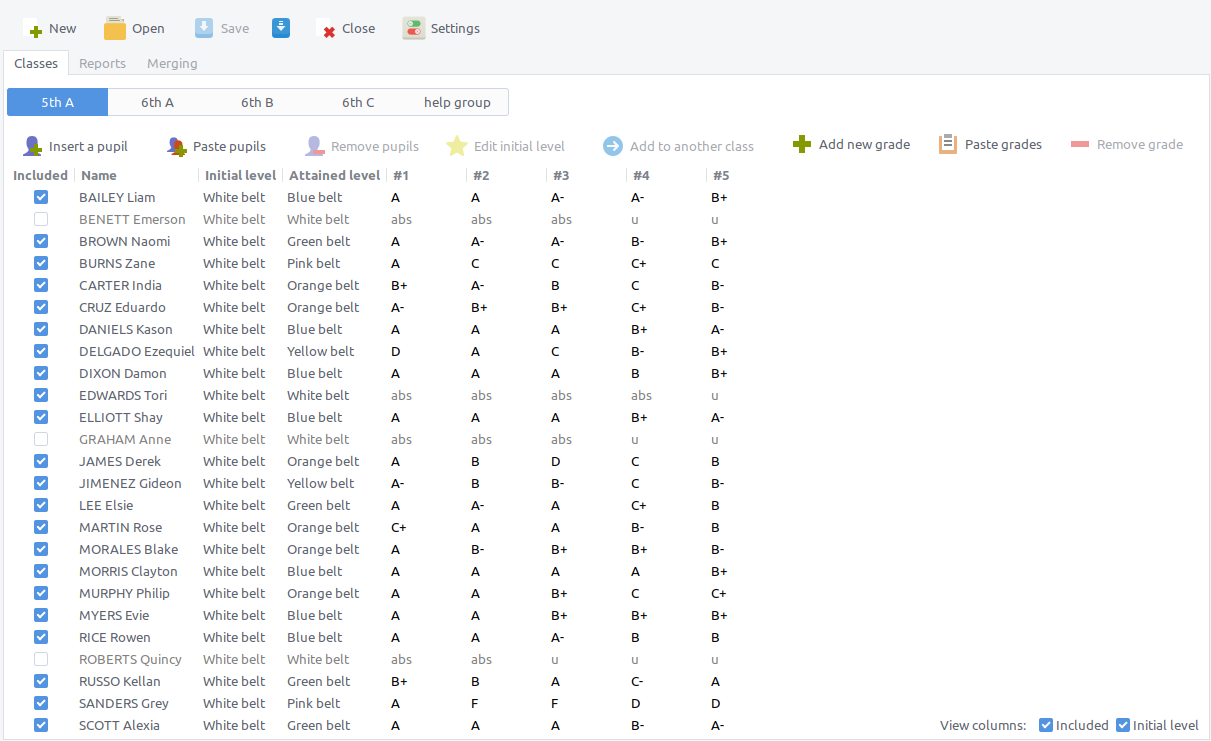
Print reports
The goal of the reports’ tab is to print reports on current pupils’ progression. There, you cannot edit grades or pupils’ names or anything, just choose the classes you need a report for:
check the number of pupils that will show up in the report, and click on the preview button at right:
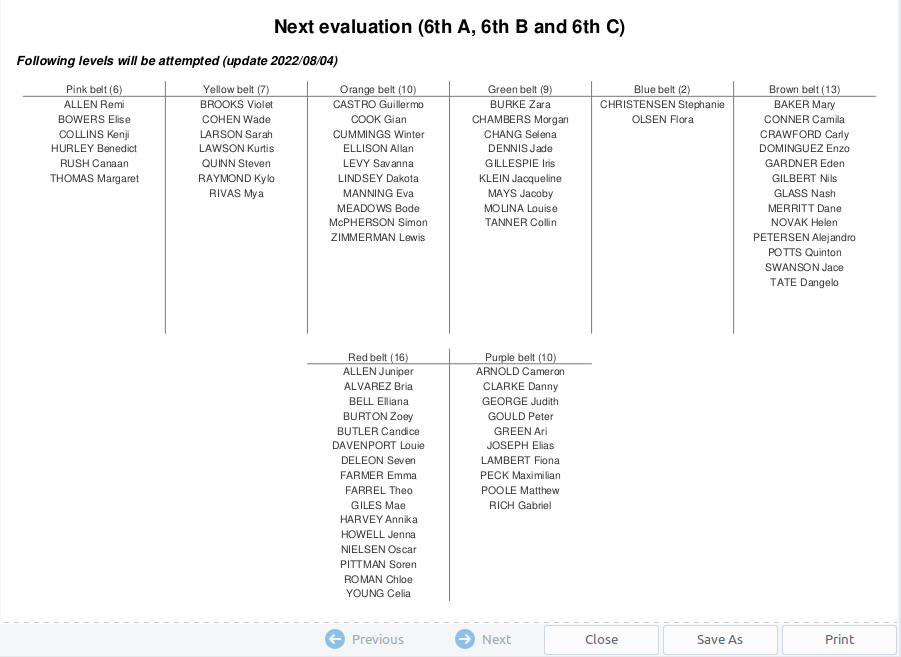
from there, you can print the report or save it (as pdf file).
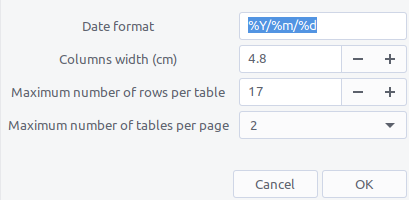
The setup button, under the preview button, lets you customize the report a little bit:
Generate tests templates
Warning
At the moment, this is only possible for maths tests generated by mathmaker. Other tests generators might be “plugged” to Cotinga in the future.
Enable the generate tab
If you’ve installed mathmaker (and know how to use it), you can get to Cotinga preferences, and click on “Automatic tests generation” tab:
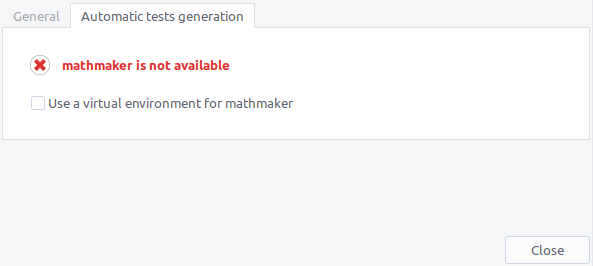
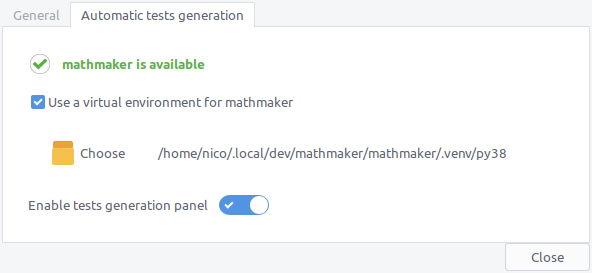
If mathmaker’s installation is system-wide, it should show up as available. Yet, if you’ve installed mathmaker in a virtual environment, you can set it up here:
Use it
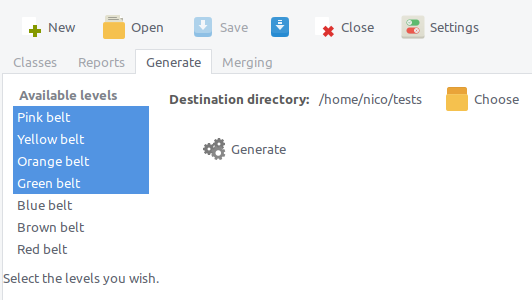
Choose a destination directory for the templates of your next test, select the belts you wish a template for and click on “Generate”:
and wait until you get the finished dialog:
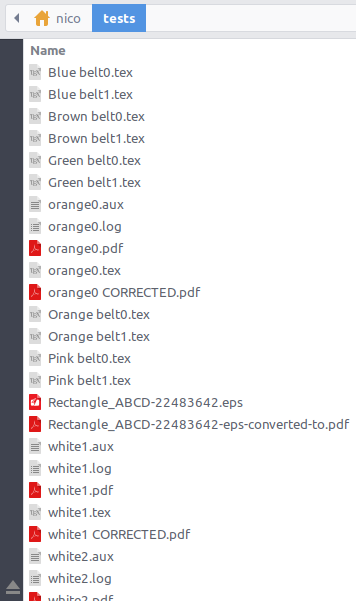
You can check the templates have been generated in the directory you chose:
Merge tests templates
What are test templates?
These are tests files for your pupils. At the moment, only LaTeX documents may be used. .odt files may be used as templates in the future, too.
You can create them either manually or automatically (if you have a tests generator like mathmaker).
Each template file may include these labels: <FULLNAME> and <CLASSNAME>. For instance, my own LaTeX templates start this way:
\begin{document}
\textbf{Mental calculation: belt color}
\hfill \fverb|<FULLNAME>, <CLASSNAME>|
What is merging?
Merging tests consists of creating the tests sheets for all pupils of a class, in the order you want. Cotinga will take care to pick up the right level for each pupil.
When merging templates, Cotinga will replace any <FULLNAME> and/or <CLASSNAME> label it finds by the pupil’s fullname and/or classname.
Do merge
You can merge tests templates for one class at a time. Select it in the merging tab:
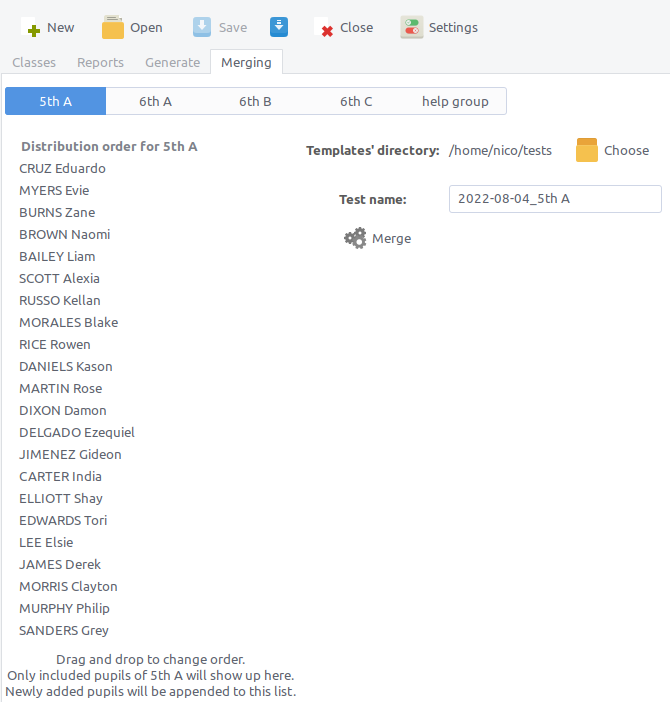
Notice that the order here is not alphabetical: you can change the order to match your sheets distribution needs (drag and drop pupils’ names).
Choose the directory where you’ve put your templates, choose a name for your test, and click on merge! This will start the sheets compilation and merging:

wait until it’s over:
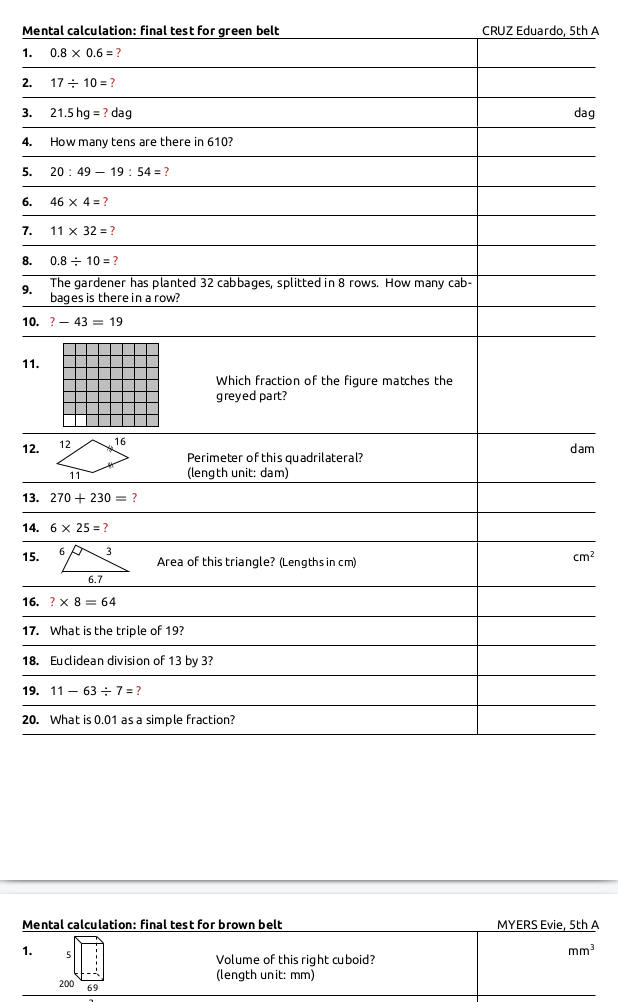
and check the generated file looks correct:
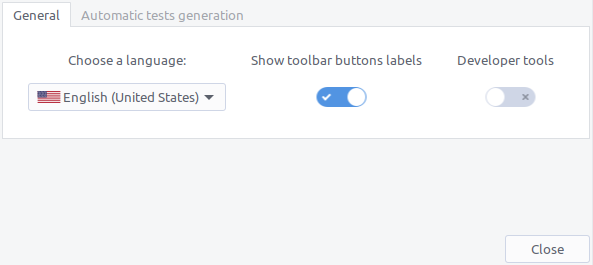
General preferences
So far, the preferences dialog lets you choose the language and whether you want to see the buttons names or not. You do not need to enable developer tools.