Quickstart
Create and setup a new document
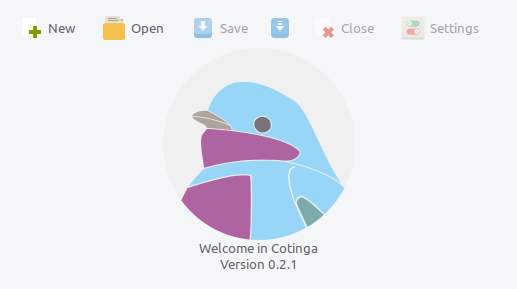
Once you start Cotinga, it’ll display the welcome page (no document loaded).
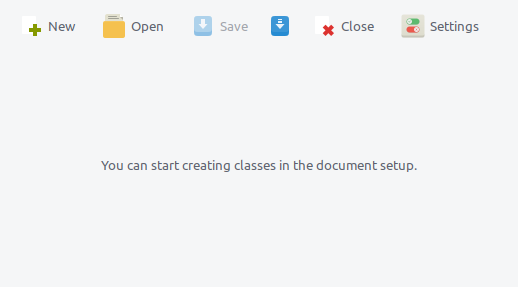
Click on “New” and Cotinga shows the empty document page:
Click on “Settings” to open the document setup dialog:
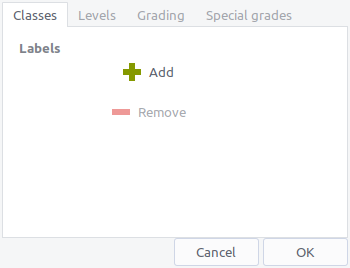
There, you can add, remove and order your classes.
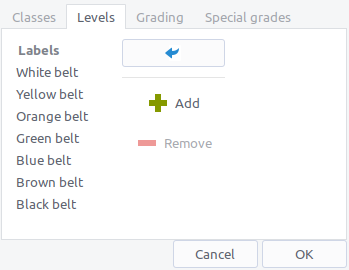
You can define the levels you wish:
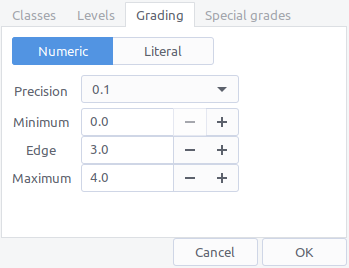
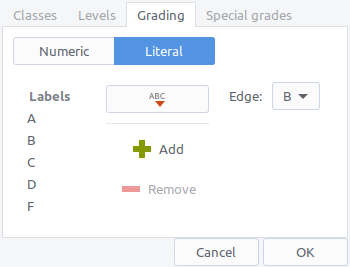
the grading type (whether it is numeric or literal; the edge from where a student successfully passed a test):
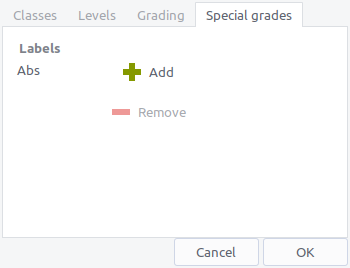
and the special grades (any grade that does not belong to the grades scale, but should be considered as correct value, for instance when a student was absent, or won’t get a grade for a certain test etc.)
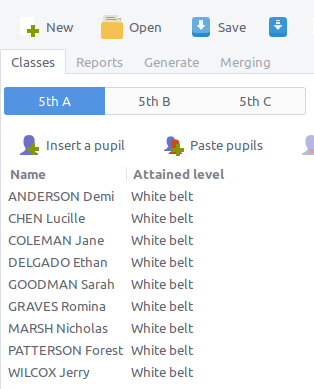
Populate your classes in the classes tab
You can insert new pupils one by one (click on “Insert a pupil”):
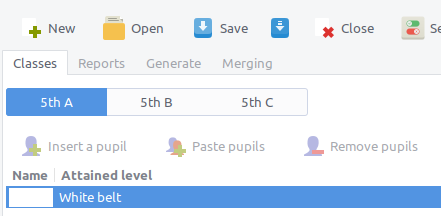
but it’ll be faster to paste a list of pupils from a spreadsheet document: select the pupils’ names:
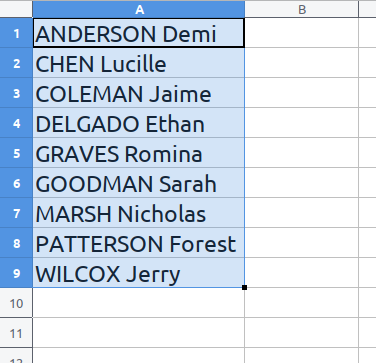
and click on “Paste pupils”. After a confirmation dialog, all pupils will be there: